DHCP is easy to configure on a Cisco Meraki in smaller environments without a dedicated server. Meraki DHCP reservations and settings can be tricky though if you switch between enabling/disabling VLANs.
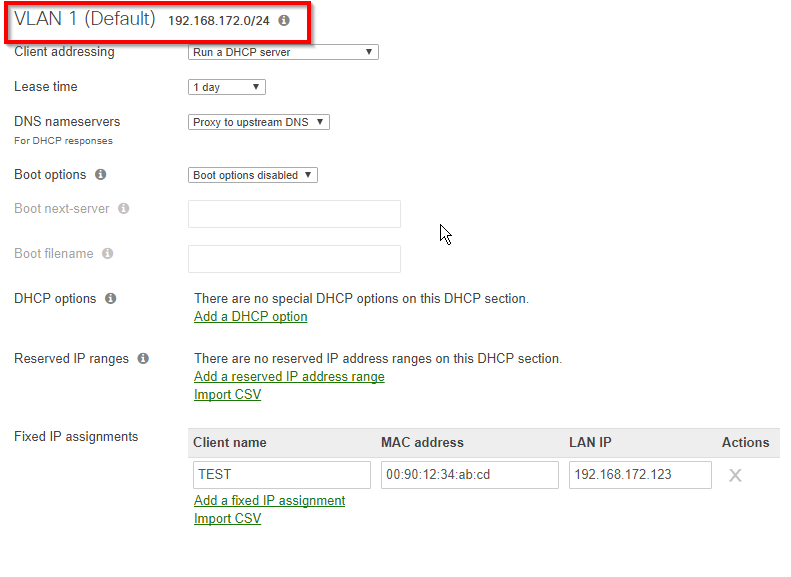
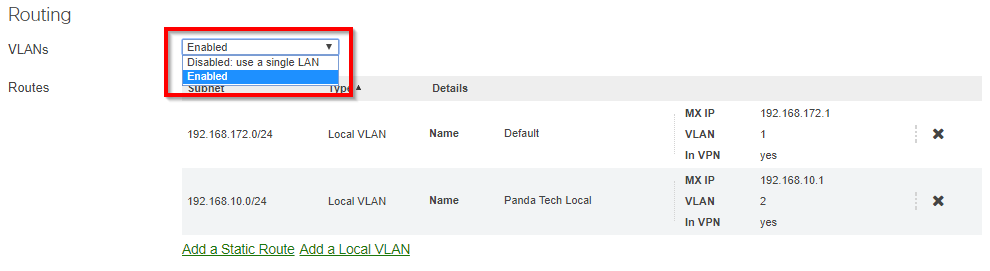
Unless you are sure you will never use VLANs, you should Enable VLANs before creating any DHCP reservations and settings. Although the subnet and MX IP will be the same under both configurations, none of the previously added reservations will carry over; they must be re-added.
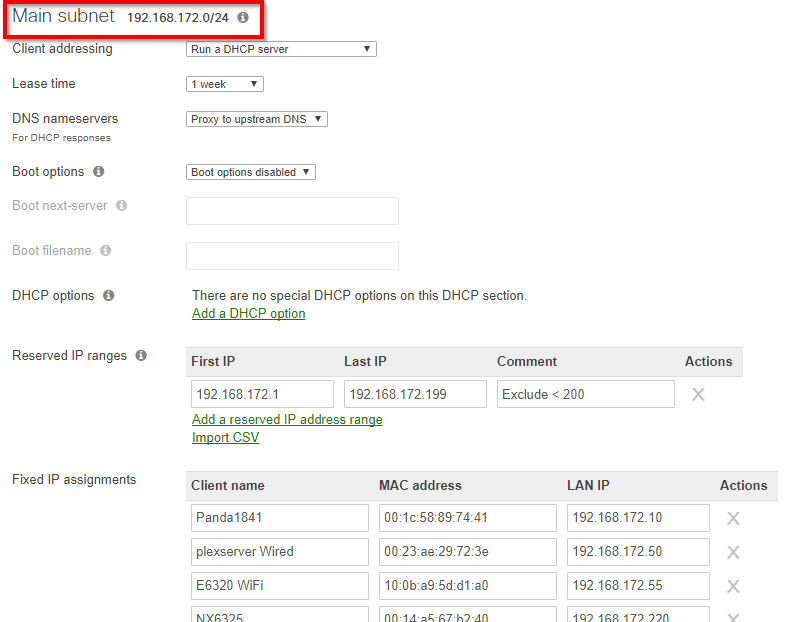
The DHCP reservations do not carry over because the network with VLANs Disabled is technically the “Main Subnet”, whereas with VLANs Enabled, the network is “VLAN 1 (Default)”, as seen in the pictures below. Since the settings do not carry over, we recommend Enabling VLANs even if you only use a single subnet.
This will help you configure Windows Firewall to enable remote disk management on Windows Server 2012 core installations.
Enable Firewall Exceptions on the Client and Server
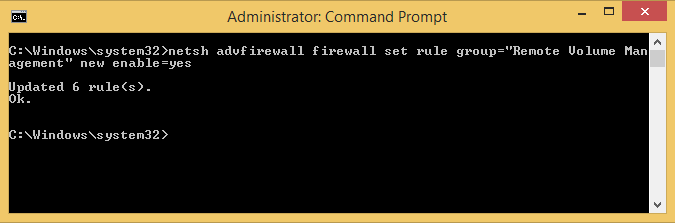
You will need to enable the exceptions on both the machine you are trying to access (the Server) and the machine you are accessing from (the Client). You can do so with the following command in an elevated Command Prompt or PowerShell:
netsh advfirewall firewall set rule group="Remote Volume Management" new enable=yes
Note: My client machine updated 6 rules, but my server only updated 3 rules (as seen in the next screenshot.
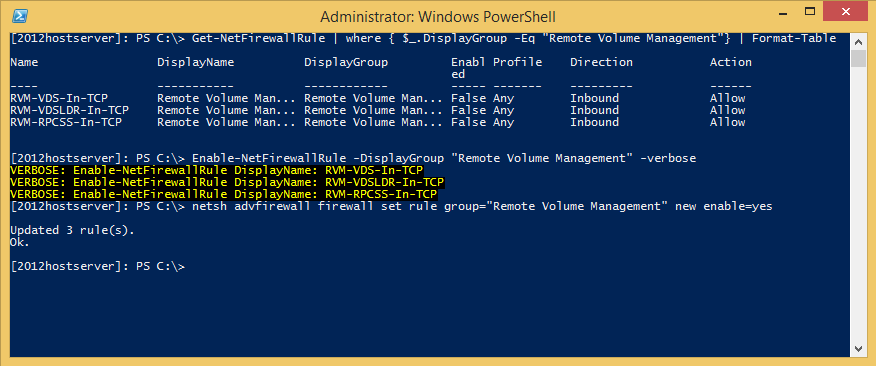
On the Server, you can check if all the appropriate exceptions are enabled with the following PowerShell command:
Make sure that all three items are enabled (True). If they are not, try running the netsh command again. Also, make sure that the VDS service is running on the Server. It is also a good idea to set the VDS service to start automatically.
You can also try the commands recommended by Microsoft. They do the same thing as the netsh command above. If you want to see the individual exceptions that are updated, you can run it with the -verbose flag as I did in the screenshot.
