Managing Office 365 via Active Directory

How Azure AD Connect works

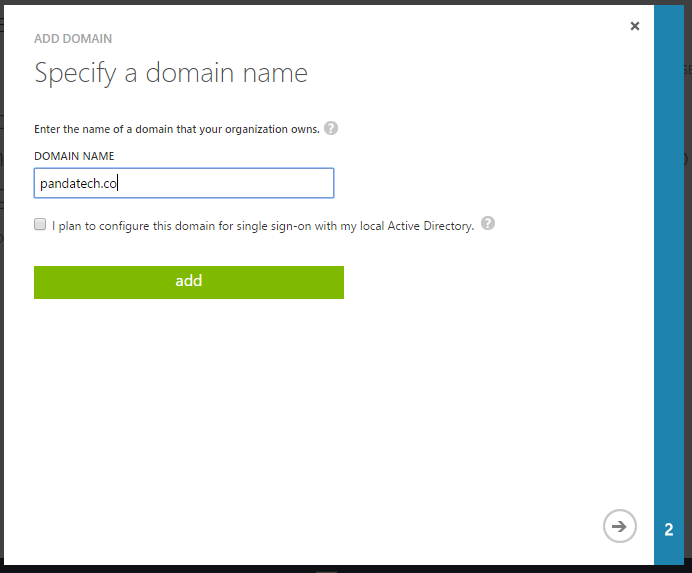
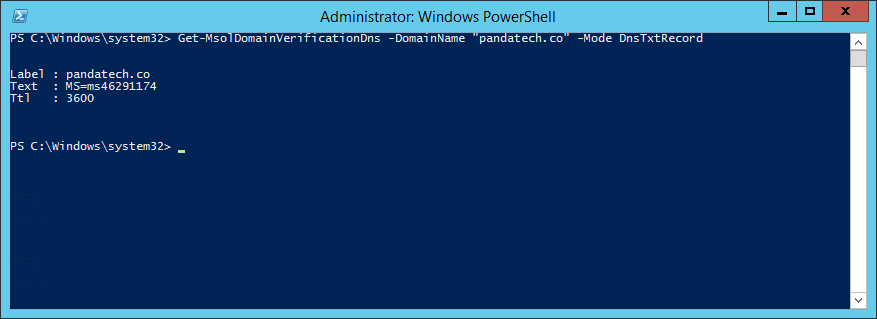
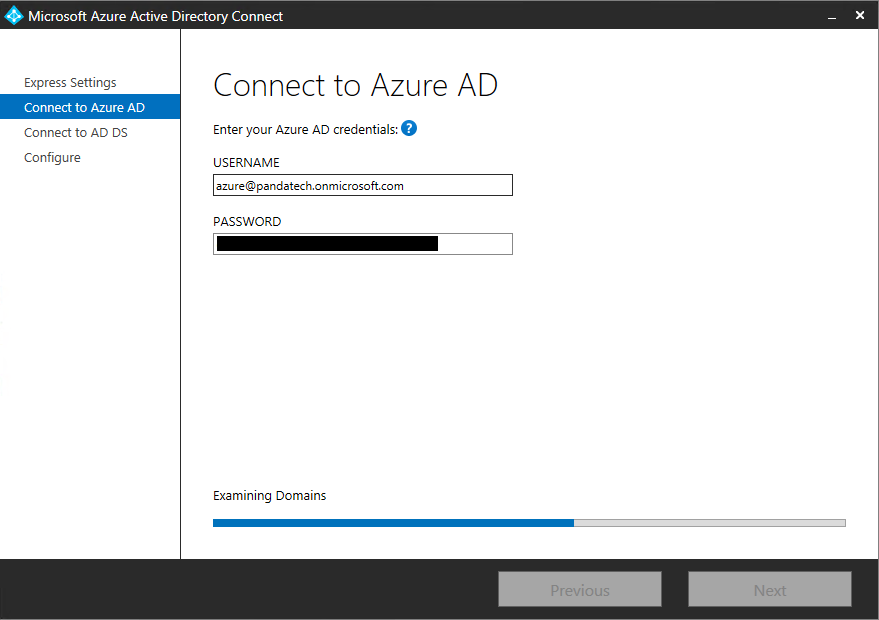
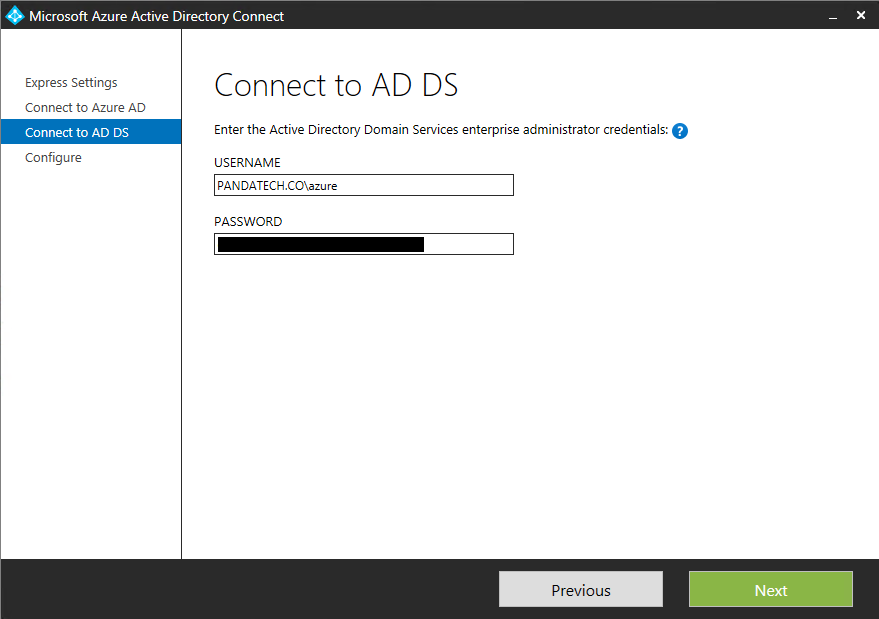
The company has moved from an on-premise Exchange Server to Office 365. You have set up AD Connect to sync all your data and passwords. You have decommissioned and uninstalled all local instances of Exchange Server. Suddenly you discover that you must manage Office 365 via Active Directory, and it seems impossible to because many settings must be changed in the Active Directory Users and Computers Attribute Editor.

Your options for management are essentially the following:

  1. Disable AD Connect – Your data in AD and Azure AD will no longer be synced, but you can easily manage everything from https://portal.office.com/adminportal/home#/homepage.
  2. Install Exchange Server locally – Your data will be in sync. You can set up Mail-Enabled Users to manage users with mailboxes, and groups and contacts will be managed the same way as before via the Exchange Management Console.
  3. Manage mailboxes through Active Directory Users and Computers – Your data will be in sync, and you will have the turn on “Advanced Features” to access the Attribute Editor.

This is a reference table with examples choose Option 3, and manage Office 365 via Active Directory.

TypeFunctionAD AttributeExample
UserHide User from Address BookmsExchHideFromAddressListsTRUE
UserSet alias emailproxyAddressessmtp:[email protected]
UserSet primary emailproxyAddressesSMTP:[email protected]
UserSet Exchange AliasmailNicknameinfo
GroupPermitted SendersauthOrigCN=First Last,OU=IT,OU=Panda Tech,DC=pandatech,DC=co

Frequently used Office 365 settings that are difficult to find in the AD Attribute Editor will continue to be added to the table in the future.

Configure a Custom Domain for Single Sign-On in Azure

Azure AD 1

Azure AD is a great new subscription based product from Microsoft, perfect for Apps and Cloud Backups, however adding a custom domain and configuring it for single sign-on with you local Active Directory can be tricky. After deleting my custom domain twice and all my synced users once, we discovered this to be the easiest way to setup single sign-on in Azure.

Prerequisites

  • Active Directory Federation Services must be installed and configured
  • A Global Administrator on Azure Active Directory
  • A Enterprise Administrator on your domain

Instructions

  1. Add the domain to Azure Active Directory. Check the “I plan to configure this domain for single sign-on with my local Active Directory.”
  2. Add a User. The user will be a “New user in your organization” and must have Global Administrator priveleges. We created “[email protected]
  3. Sign in with the new user and update the password.
  4. Get the code for verifying the custom domain by opening an elevated PowerShell session and running the following commands:
    $cred = Get-Credential
    Connect-MsolService -Credential $cred
    Get-MsolDomainVerificationDns -DomainName "pandatech.co" -Mode -DnsTxtRecord

    Enter the new user’s credentials in the prompt that opens after the first command. Then replace the last command with your own custom domain name. See the example output below:
    Azure DNS 2

  5. Create TXT record with the Alias or Hostname @ and the Address from the PowerShell results. Below is my record:
    Azure DNS
  6. Depending on your host and the internet, it may take a while before the DNS records update. Once they do you will need to run the following command:
    New-MsolFederatedDomain -DomainName "pandatech.co"

    If the DNS records have not updated yet, you will get an error. Once completed, the custom domain should appear as “Verified” in Azure AD. Successful PowerShell results look like this:
    Azure AD 3

  7. On a Domain Controller, install download and install Microsoft Azure Active Directory Connect.
  8. Run Azure AD Connect using the Express Settings, and sign in with the account you created in Step 3 on the first page. Sign in with an Enterprise Administrator on your domain in the second page. Check “Start the synchronization process as soon as the configuration completes”, and click Install.
    Azure AD Global AdministratorAzure Enterprise Administrator
  9. Installation should complete within a few minutes. The sync will automatically begin afterwards, and it may take some time depending on the size of your domain and your internet speed.
  10. Verify that accounts appear in Azure AD afterwards, and try signing into the Azure Portal with one of your local accounts.

Hopefully this helps you configure single sign-on in Azure with your local Active Directory. Post any questions in the comments. You may also find Microsoft’s Azure AD Directory Integration documentation helpful as well.

Adding Multiple Users to Active Directory

ImportBulkUsers ps1

Adding Multiple Users to Active Directory can be done very simply by creating a CSV file, which administrators can easily edit using Excel, and running the PowerShell script below. (CSV template and script download at the bottom) Someone will still have to fill out every user’s information and ensure that the proper OU exists, but after that it is smooth sailing. This is just a starting point for administrators though; it is easy to specify more categories such as Department, Telephone, E-mail, etc. by adding columns to the CSV and lines to the PowerShell script.

The CSV

This CSV (download) is a starter template for adding multiple users to Active Directory. If you need to add more AD attributes, simply create a column, note the Ldap-Display-Name, and add the details for each user. Once this is complete, save it to a directory on a Domain Controller, and get ready to run the script below. We used the directory C:\ADtest in our example.

ImportBulkUsers CSV

The PowerShell script

The PowerShell script (download) has been written to with the CSV template above, but administrators will still need to make at least 1 edit to the script—in Line 4, administrators will need to edit “pandatech.co” to be there domain, such as “contoso.net”. Be sure to keep the quotation marks around the domain, otherwise you will run into syntax errors. The script also assumes that you saved the CSV file to C:\ADtest. Administrators can change this -Path to existing location in Line 2.

ImportBulkUsers ps1

The above shows the results from running it in PowerShell ISE. If you don’t want it to display successful results when adding multiple users to Active Directory, delete -PassThru from Line 17. If the user already exists, an error will be displayed, but the script will continue to process other users contained in the CSV. If you added more columns and attributes in the CSV, you’ll have to include the Ldap-Display-Name and column name between Lines 7-17.

Import-Module ActiveDirectory
Import-Csv -Path "C:\ADtest\importbulkusers.csv" | ForEach-Object {
    $SAM = $_.GivenName[0] + $_.Surname
    $UserPrincipalName = $SAM + "@pandatech.co"
    $Name = $_.GivenName + " " + $_.Surname
    New-ADUser `
        -UserPrincipalName $UserPrincipalName `
        -SamAccountName $SAM `
        -Name $Name `
        -DisplayName $Name `
        -GivenName $_.GivenName `
        -Surname $_.Surname `
        -Description $_.Description `
        -Path $_.Path `
        -AccountPassword (ConvertTo-SecureString $_.Password -AsPlainText -Force) `
        -Enabled $true `
        -PassThru
}

Download the CSV template
Download the PowerShell script